
Halloween AI Photo Editor: Spooky Edits From One Photo
A Halloween photo editor should do more than drop a pumpkin sticker on a picture. The useful edits are the ones that change the mood: costume, makeup, background, fog, and light, while keeping the person recognizable.
- Costume and makeup edits
- Fog, light, and background changes
- Identity-preserving prompts
Hosted image and video routes show the model and credit cost before you generate.
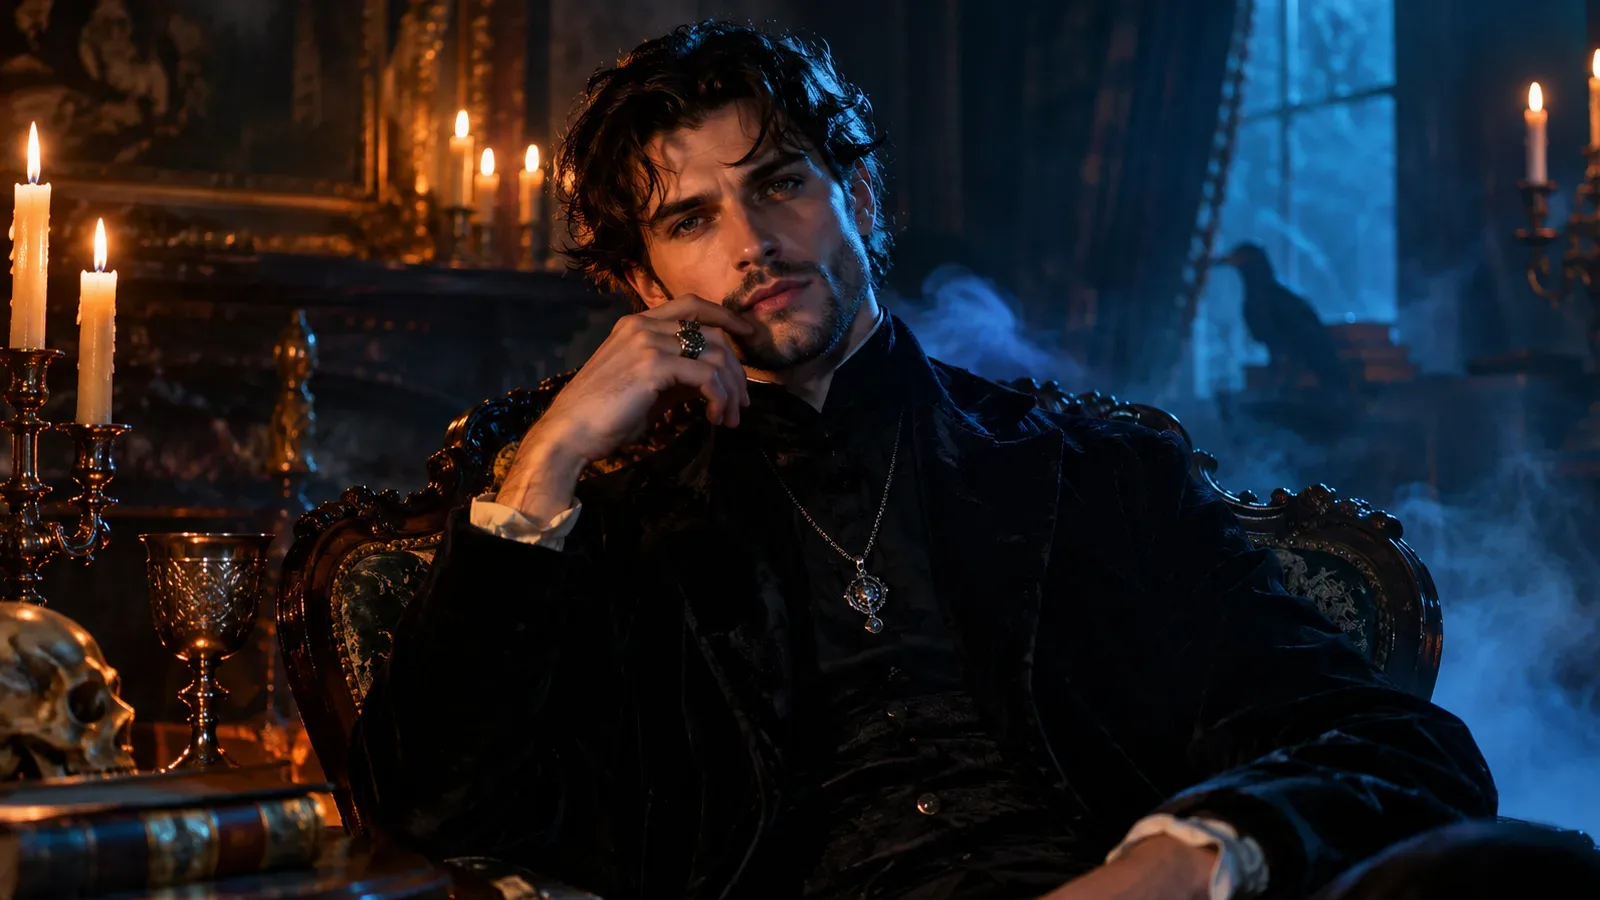
This guide gives you four editable recipes and the prompt structure that keeps a portrait from turning into a different person.
What to edit first
Start with the change that matters most. If the costume is the point, describe the outfit before the background. If the mood is the point, describe the light and atmosphere first, then keep the outfit simple.
Trying to change everything at once is the fastest way to lose the likeness. One strong concept beats five competing ideas.
Four Halloween edit recipes
These recipes are designed for a single portrait. They use original costume and scene descriptions, not copyrighted characters.
Use the same selfie for all four if you want to compare the moods. Keep the camera angle and expression consistent.
- Haunted portrait: dark velvet, silver jewelry, candlelight, drifting fog.
- Neon witch: black hat silhouette, violet and green rim light, wet cobblestone.
- Forest spirit: moss-green textures, antler-like hairpieces, fireflies, deep forest.
- Retro horror poster: high-contrast red and teal light, grain, dramatic shadow.
Keeping the face recognizable
The preserve line is the most important part of the prompt. Say that the face, facial proportions, skin tone, age, and pose must stay the same. Then describe the new elements around the face rather than over it.
If the result still drifts, reduce the amount of makeup and hair change. A strong costume with a subtle face edit usually looks more believable than a full transformation.
The editing workflow
Open the image-to-image workspace, upload the portrait, and paste the recipe. Choose a model, set the aspect ratio to match the original photo, and generate. Compare the result with the original before making a second pass.
For a second pass, use the first result as the new reference and change only one thing, such as the fog density or the light color. That keeps the edit controllable.
Common mistakes
The most common mistakes are overloading the prompt, ignoring the original light direction, and asking for text or logos. Another is using a low-resolution selfie and expecting a crisp costume detail.
A clean source photo and a focused prompt will outperform a long list of adjectives every time.
- Do not change the face shape and the costume at the same time.
- Match the new light to the original shadow direction.
- Avoid text, logos, and watermarks in the prompt.
- Use a source image with a clear face and minimal motion blur.
Prompt recipes
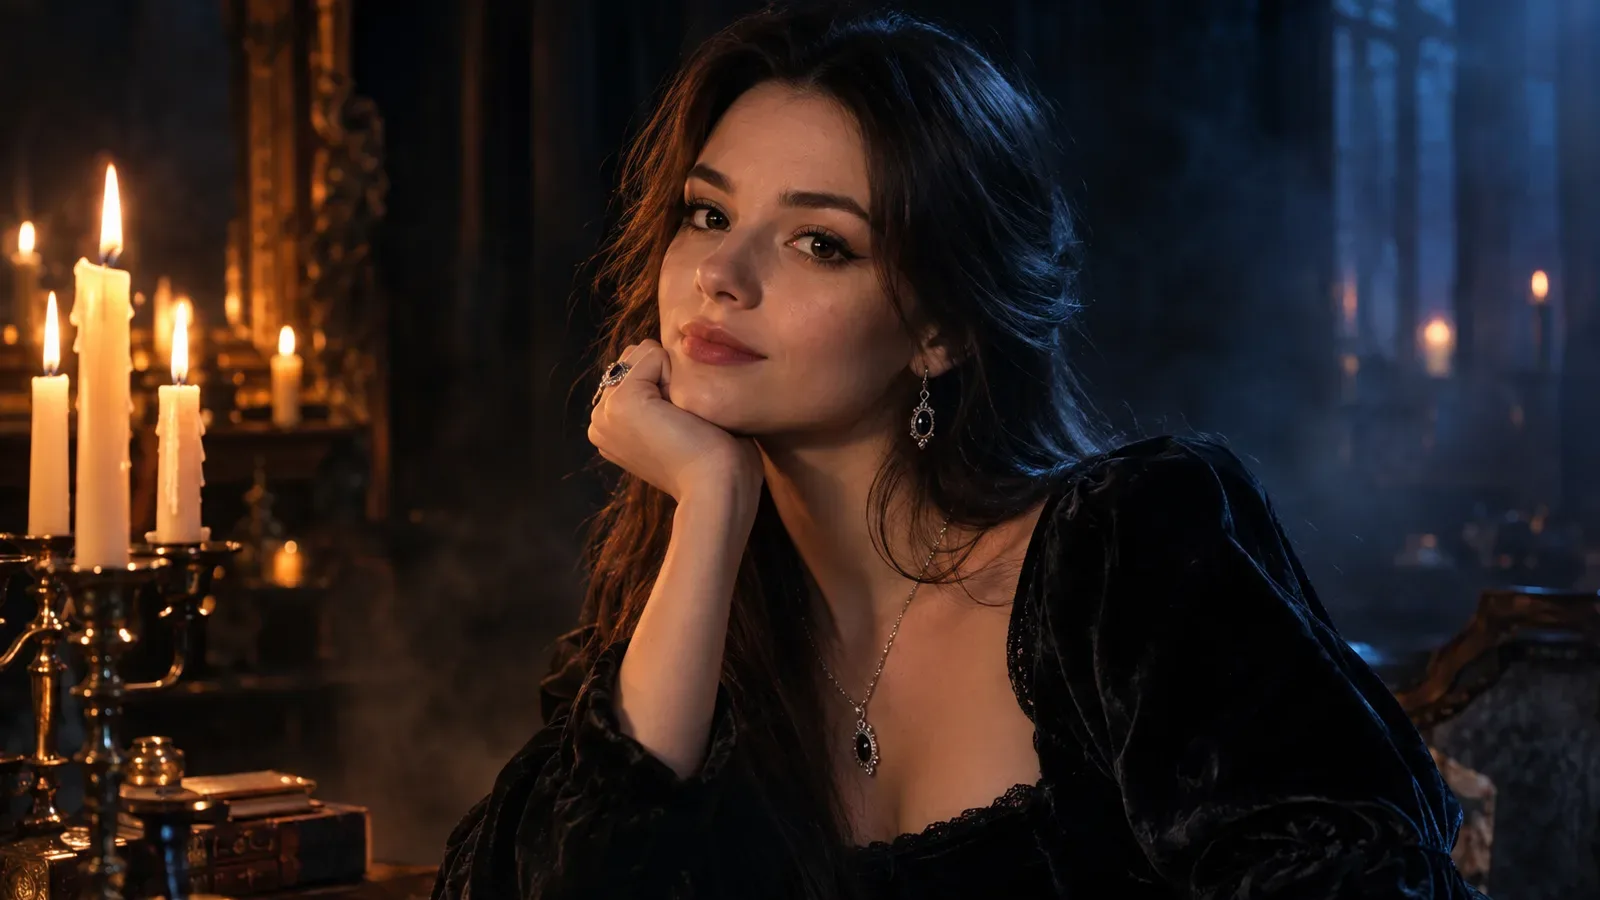
Haunted portrait recipe
Use the uploaded portrait as the primary reference. Preserve the subject's recognizable face, skin tone, age, and pose. Change the outfit to dark velvet with silver jewelry, place the subject in a candlelit Victorian room with drifting fog and deep shadows, warm amber key light with a cool blue rim light, photorealistic editorial photography, realistic skin texture. No changed identity, no extra people, no text, no logos, no watermarks.
Frequently asked questions
Can I edit a photo without changing my face?
Yes. Use a preserve line that explicitly protects the face, skin tone, age, and pose, and keep the costume and scene changes separate.
Do I need a professional photo?
No. A clear phone selfie with even lighting works. Avoid heavy motion blur and harsh backlight.
Can I add fog or change the background?
Yes. Describe the fog density and the background separately from the costume so the model knows what to change.
Why does the result look like a different person?
The model changed too much at once. Reduce the hair and makeup changes, strengthen the preserve line, and try again.
Which output size should I choose?
Match the aspect ratio of the source photo. Higher resolutions cost more credits and are useful only if you need a larger final image.
Related guides
Halloween AI guide
AI Halloween Costume Generator: Turn a Selfie Into a Costume
Turn a selfie into an original Halloween costume with AI image editing on mogged.games. Try five costume recipes, copy the prompts, and generate.
Read guideHalloween video guide
Halloween AI Video Generator: Animate Your Costume Photo
Animate a Halloween costume photo with AI image-to-video on mogged.games. Use short motion prompts for a head turn, drifting fog, and cinematic light.
Read guideBlack Friday guide
AI Video Generator Black Friday 2026: What to Check
Black Friday 2026 is November 27. Compare AI video generator deals, credit costs, and refund terms before you buy, then check mogged.games current pricing.
Read guideReady to try it?
Use the Halloween AI photo editor on mogged.games to change costumes, add fog, relight a portrait, and keep the face recognizable. Copy a recipe and try it.
Updated: